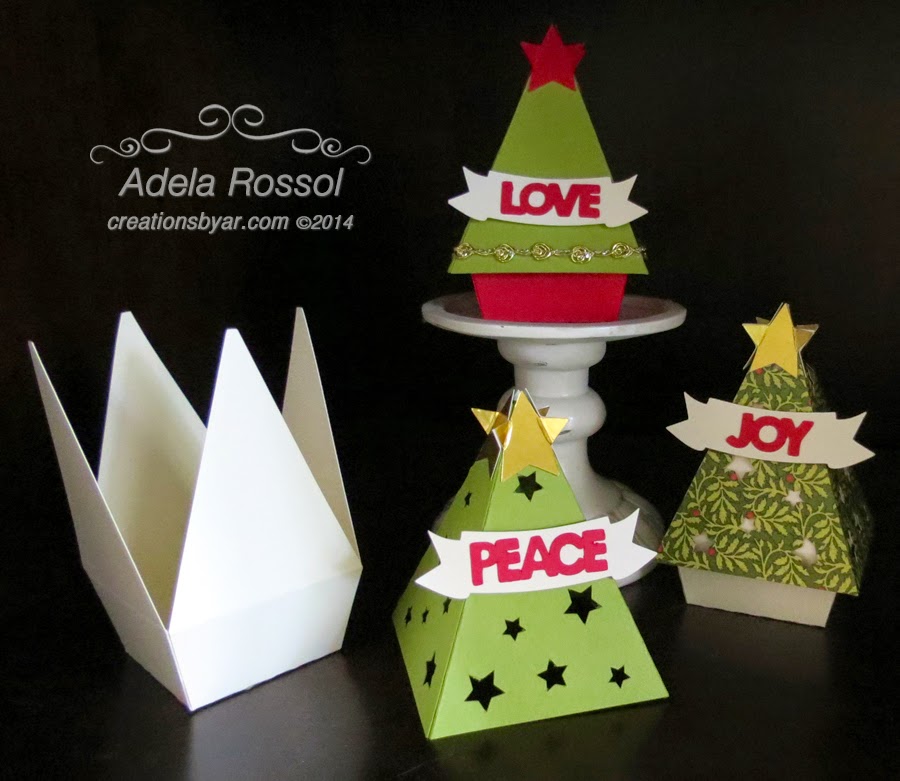
I've got all my tags made for Christmas! Made about 50 of these so I won't run out like I did last year! Four designs are included in the WINTER TAG SET with sizes from 2" x 3.12" to 2.25" x 3.25". My favorite is the Penguin, which I designed especially for my BFF!
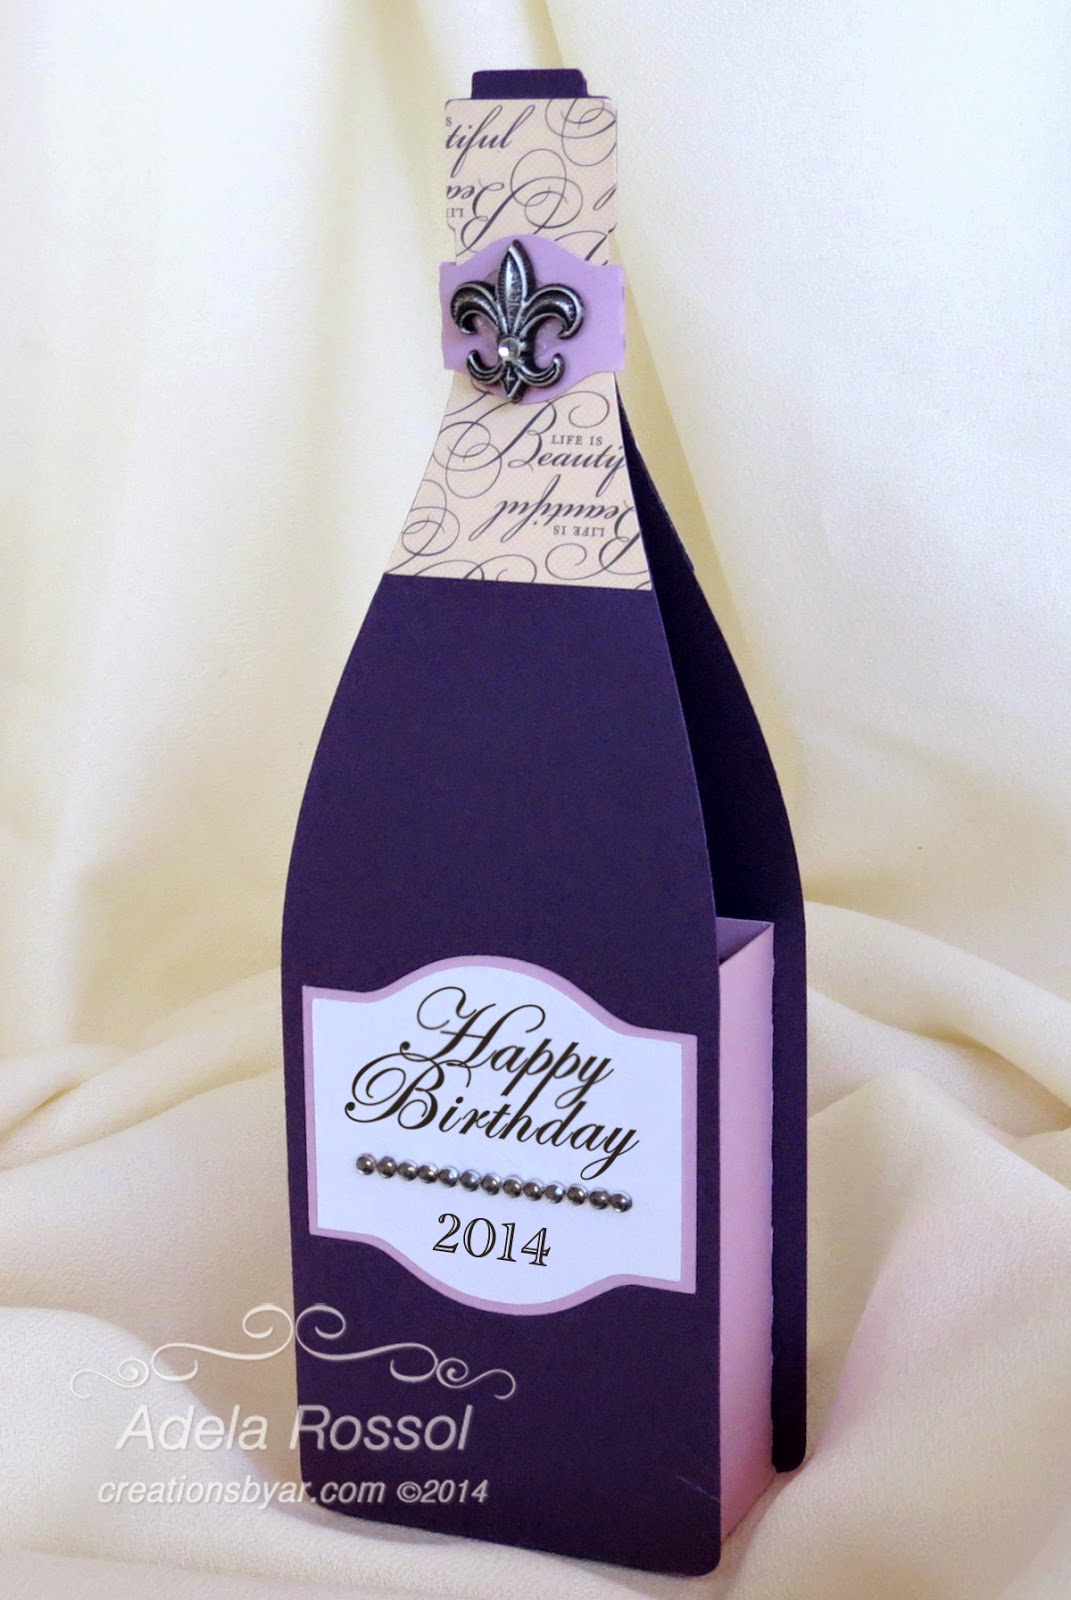
Also, I have brought back the BOTTLE OF CHEER, which I originally designed back in 2011. I had retired it earlier this year, but after some inquiries as to what happened to it, I decided to update it and is now available again… and just in time for celebrating the New Year!
Are you ready to save BIG? Before all the crazy Black Friday sales begin, stop by my SHOP to save 40% off everything in the store! Hurry because this BIG sale ends November 28th.

Thanks for stopping by and to all my US friends, have a very Happy Thanksgiving Day!!!